The feature page is a special representation of galleries that have been configured as features in the gallery manager. The page is used to view e.g. photo stories. To enable it on your website, you’ll have to save the template first because it is available as a custom page only. Once it is saved, you can modify the template to meet your requirements if you wish.
Recommended reading
Activating the feature page
Go to the editor (Site configuration, Code editor) and change the drop down at the top of the page to Features page 1 html. The editor will be blank the first time you do this. Click on Load example to open a dialog that lists the current sample templates. Click the radio button next to the template name featurepage-1.txt and then click the Use code button at the bottom of the dialog. You’ll see the code appear in the editor. Click Save at the bottom of the editor. You can now use the default feature page on your website.
Making galleries appear as features
To be displayed with the feature page layout, galleries must be part of a root level that is configured with the “Features” style. To change this setting, open the Gallery manager from the administrator toolbar, find the level that you want to change and click on it. Then click on “edit level” to see the properties and change the “Top level root style” dropdown to Features. Scroll down (if you don’t see the Save button) and click Save.
New galleries that are part of a Features root level, will always have the settings Display as gallery and Feature page layout. You can not change this. Groups that are part of a Features root level can be used to e.g. display all features (photo stories) from a single photographer. This is why it may be a good idea to create separate groups for each photographer that has features, as opposed to creating feature galleries with files from different photographers in the same group.
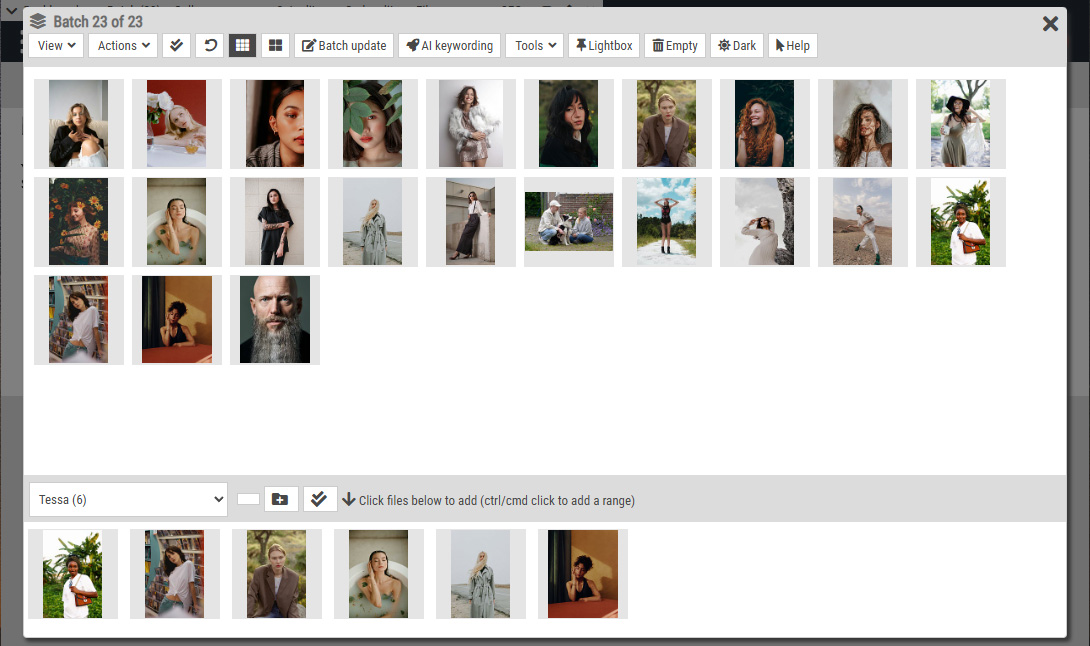
Note that the first photo in a gallery is displayed as the main image when the feature page loads. Not the index thumbnail. You can rearrange the order of display with drag & drop in the gallery manager. If you want the index thumbnail to be the same as the main image, then make sure that the first image in the gallery is the same as the one that you have selected as the index thumbnail.
The primary idea behind the feature layout, is to display text. The feature text is entered in the Description box when you are creating/editing a gallery. The gallery text is displayed in columns across the page. The first column will show and the main image is displayed next to it (you configure the width and height of the columns with the feature page widget, which is explained further down). If there’s more text than fits one column, a link appears to display the full text (i.e. the rest of the columns).
Tags that you can use on this page
The feature page tag
is used to configure how the page looks and functions and it should exist at the top of the page, underneath the menu tag.
Furthermore, the page requires a number of divs for the layout. The height of the inner container (featureinnerwrapper) is 520 pixels. This height is important because it affects the height of anything inside the container. If you want to change this height then you must override it with css. While you’re developing, you can add the CSS at the top of the features page. For example:
Inside the container featureinnerwrapper, there’s a container with the id xs_featurecontainer. This container will automatically get the width and height of its parent container.
maxh
This parameter is used to set the maximum height of the container.
colw
The full text of the gallery/photo story is displayed in columns across the screen. This parameter is used to set the width of each column.
fade
This value affects how fast one image fades to the next when browsing the photos. Change its value to 0 to disable fading in and out.
mdkw
1 to display the file’s keywords inside the metadata column, if you use the value 0 – then the keywords will be inserted in the div xs_filekeywords. If you don’t want photo keywords to display at all then you can make xs_filekeywords hidden in css (display:none).
onclick
if this property has a value of 1, then clicking the larger image will take you to the normal preview page for that image.
Use the value 2 (which is the default) to change to the next image within the feature page view instead.
buttons
This is the class name of the div where the buttons for add to lightbox et cetera will appear. The default template uses the class name previewbuttons. If you don’t want to show the buttons then remove buttons:previewbuttons from the widget.
Listing other features/galleries that are linked to the contributor
If a gallery (on the features page) is linked to a contributor, then you can display the titles of other galleries by the same contributor. You can link galleries to contributors with the Gallery manager. To do this, add the following tag to your HTML:
The above tag takes 3 mandatory parameters:
- toplevel, 0 to list titles of galleries regardless of the top level, or the id of the toplevel to filter for such galleries
- source, 0 to list galleries from groups that are linked to the contributor, 1 to list galleries directly linked to the contributor, 2 to list either
- order, 0: date ascending, 1: date descending, 2: title ascending, 3: title descending
Example: