XS websites offer many staff member functions to do things on behalf of your clients. Many such functions are in Back office, for example in User management. But when on a preview page, you can also quickly add a file that you are viewing to any user’s lightbox or cart. And you can also create an order for a user. Furthermore, you can create a new user account on-the-fly.
Recommended reading: Creating orders into user accounts, Working with client lightboxes.
How it works
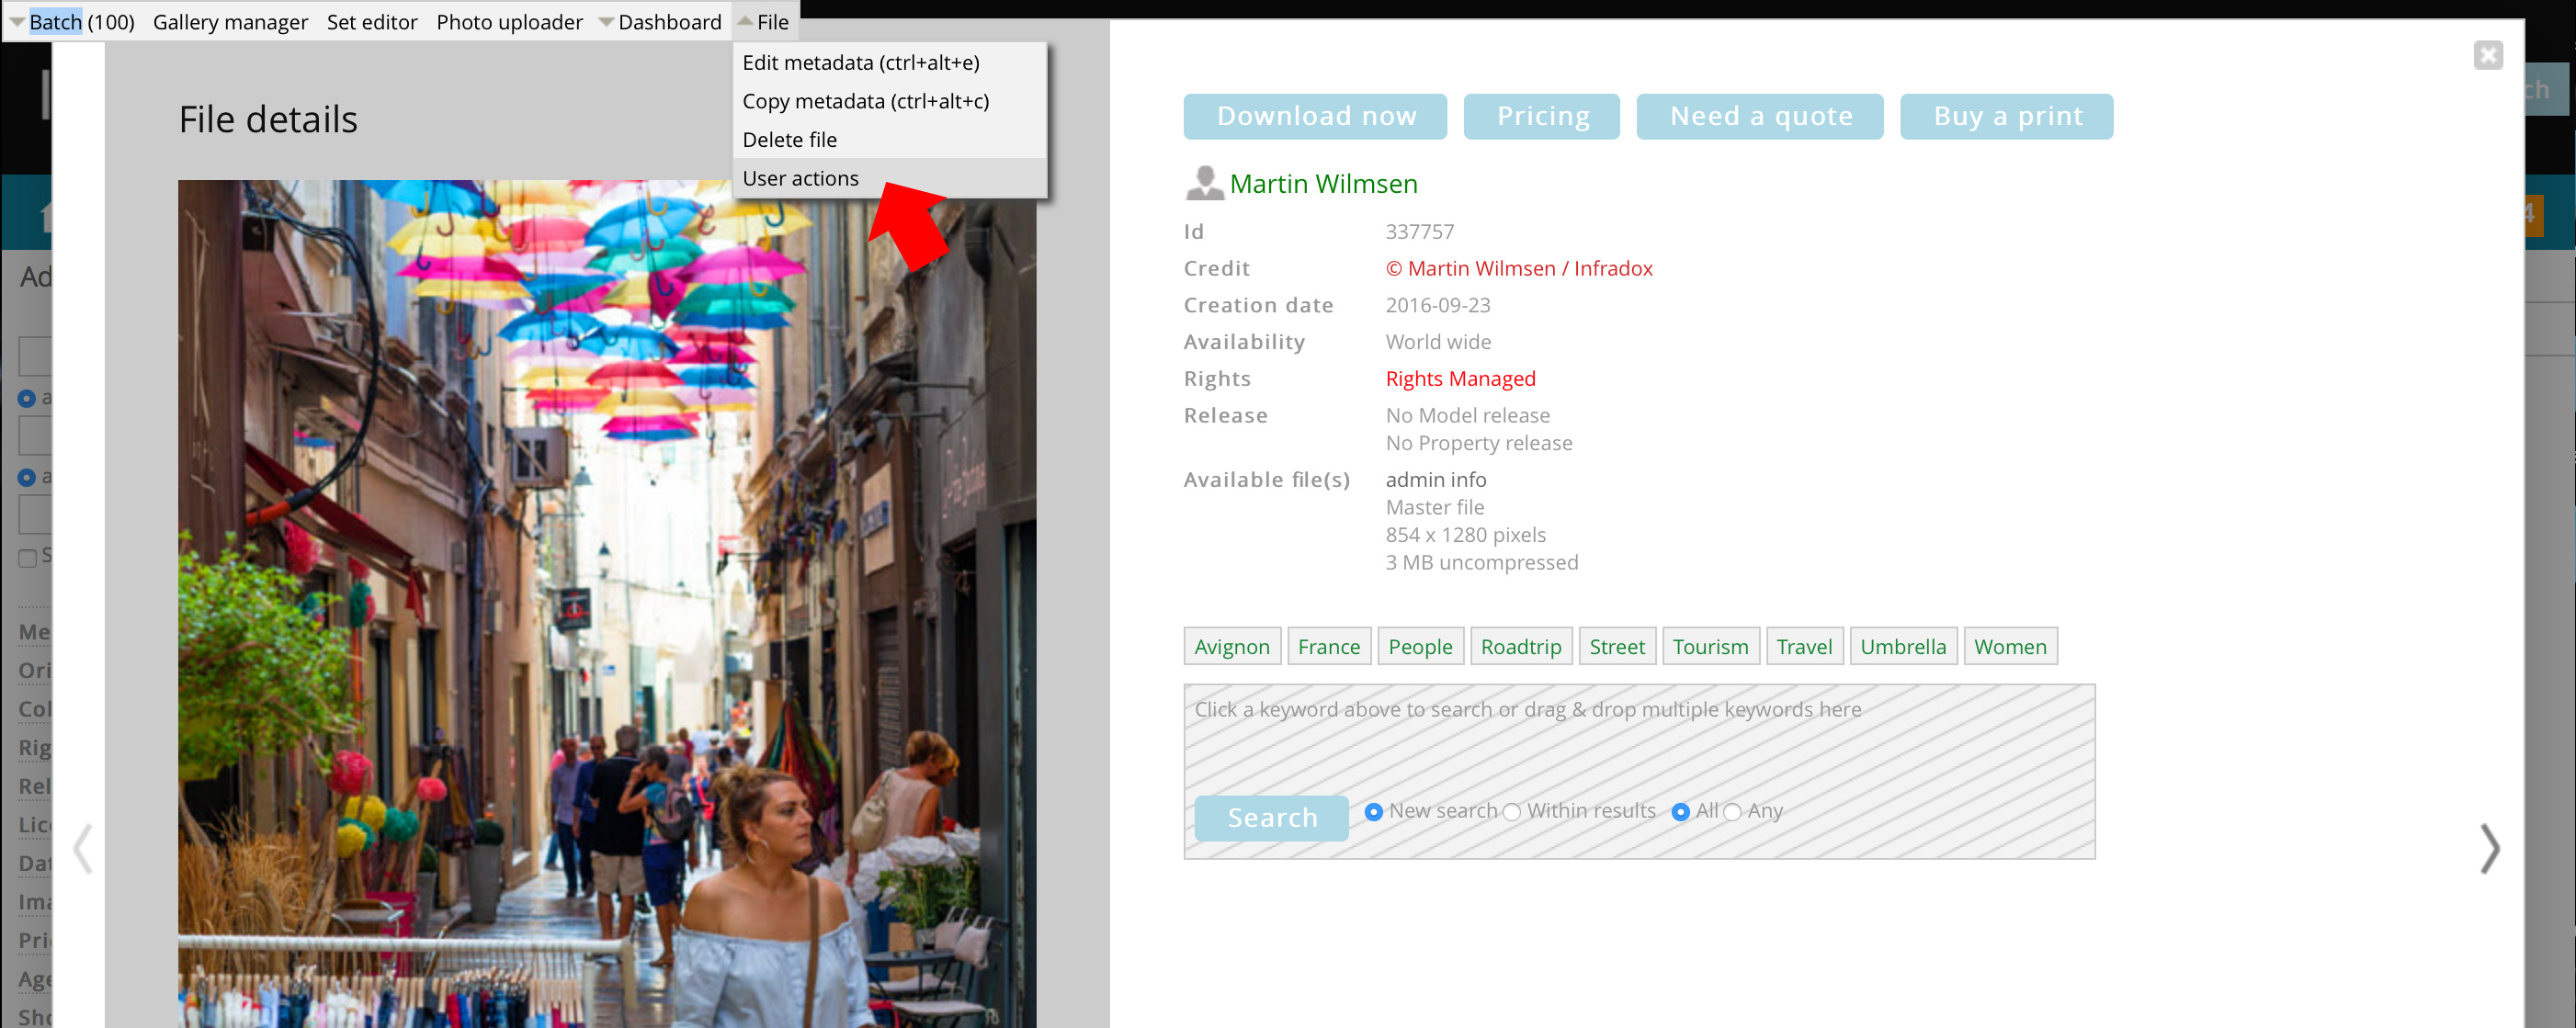
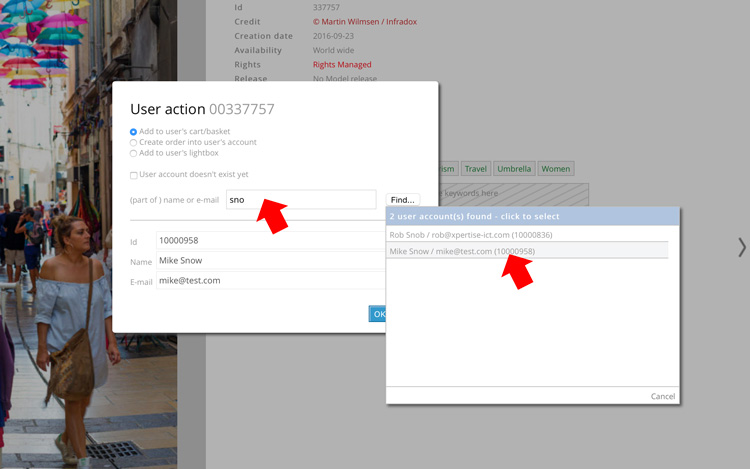
Log in with an admin account and enable the administrator’s toolbar. When viewing a preview page, hover over the File item in the toolbar to display the drop down menu. Click on “User actions” (see screen shot at the top of this page).
In the dialog that will show, enter (part of) a user’s first name, last name, company name or e-mail address. A list of suggestions will appear if a matching user account is found. Click on a user’s name to select the user account. The user details will be copied to the input fields in the dialog (see below).
Adding a new user account
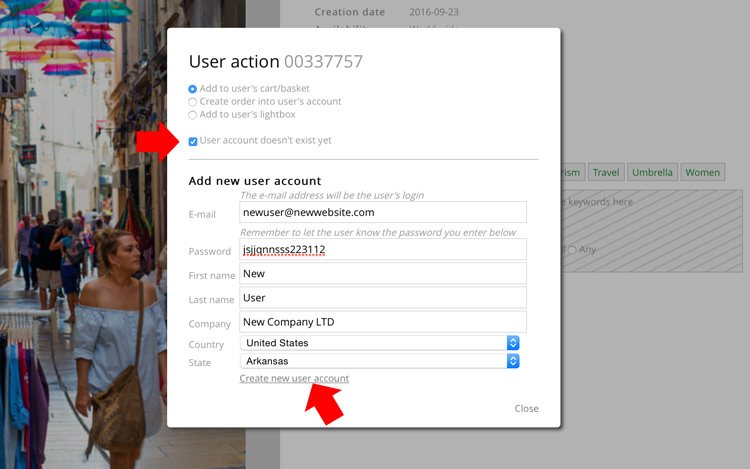
If you want to execute an action for a new user account, then click the checkbox “User account doesn’t exist yet”. This will show the new user account properties form as shown below. Uptick the checkbox to show the default form again.
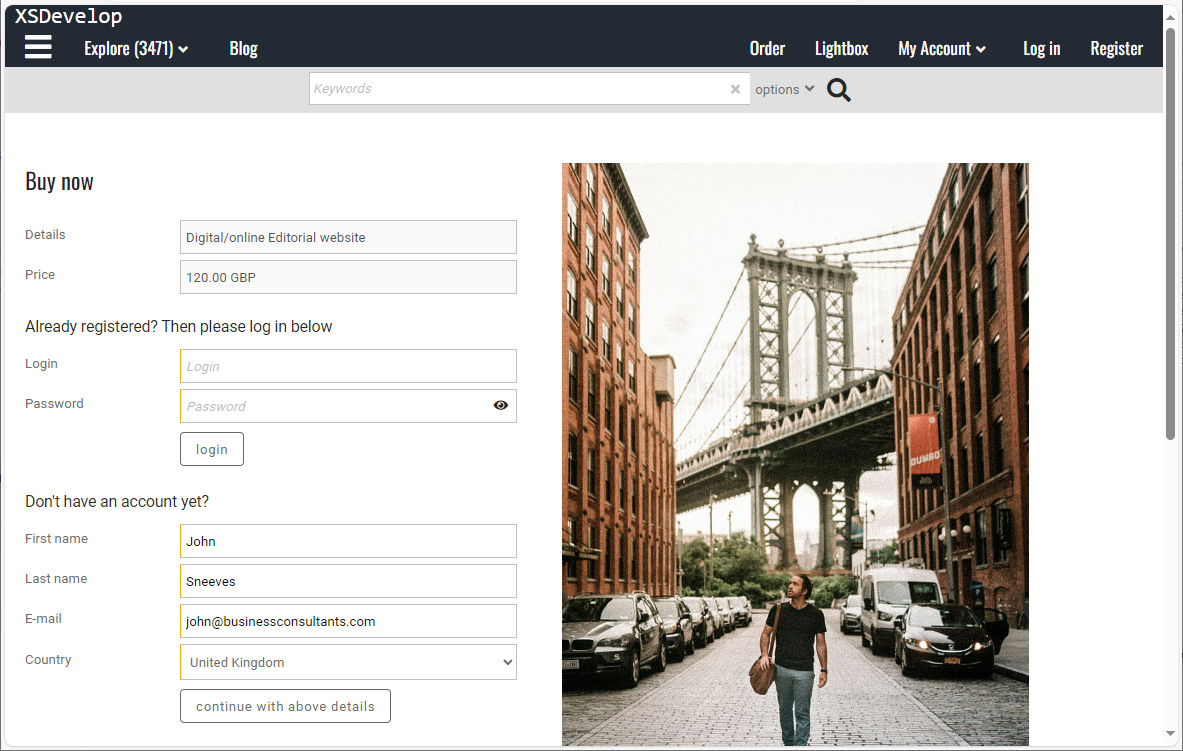
Note that the new user’s login will be the e-mail address that you enter. Logins must be unique so you won’t be able to add a new user if his/her e-mail address already exists in the user database. Write the down the user’s password, you will need to let the user know as an e-mail will not be sent to the user. When you have entered all the required details, click on “Create new user account” at the bottom. When done, you’ll be able to use any of the actions immediately.
Actions
- If you want to add the file to the user’s cart then select the radio button “Add to user’s cart/basket” and click OK at the bottom of the dialog.
- If you want to add the file to one of the user’s lightboxes, then select the radio button “Add to the user’s lightbox”. A dropdown with lightbox names will appear. You can select one of the user’s existing lightboxes, or you can select the option “** new lightbox **”. The new lightbox name will be automatically generated (i.e. Lightbox followed by a number). To add the fie click OK at the bottom.
- To allow the user to download the file, select the radio button “Create order into user’s account”. This will create an order and it will open the administrator’s order page where you can enter additional details, pricing information, permissions and so on.